

Getting usable foam from a handheld frother


Notes
Getting usable foam from a handheld frother
13 August 2026 · The Coffey Corner
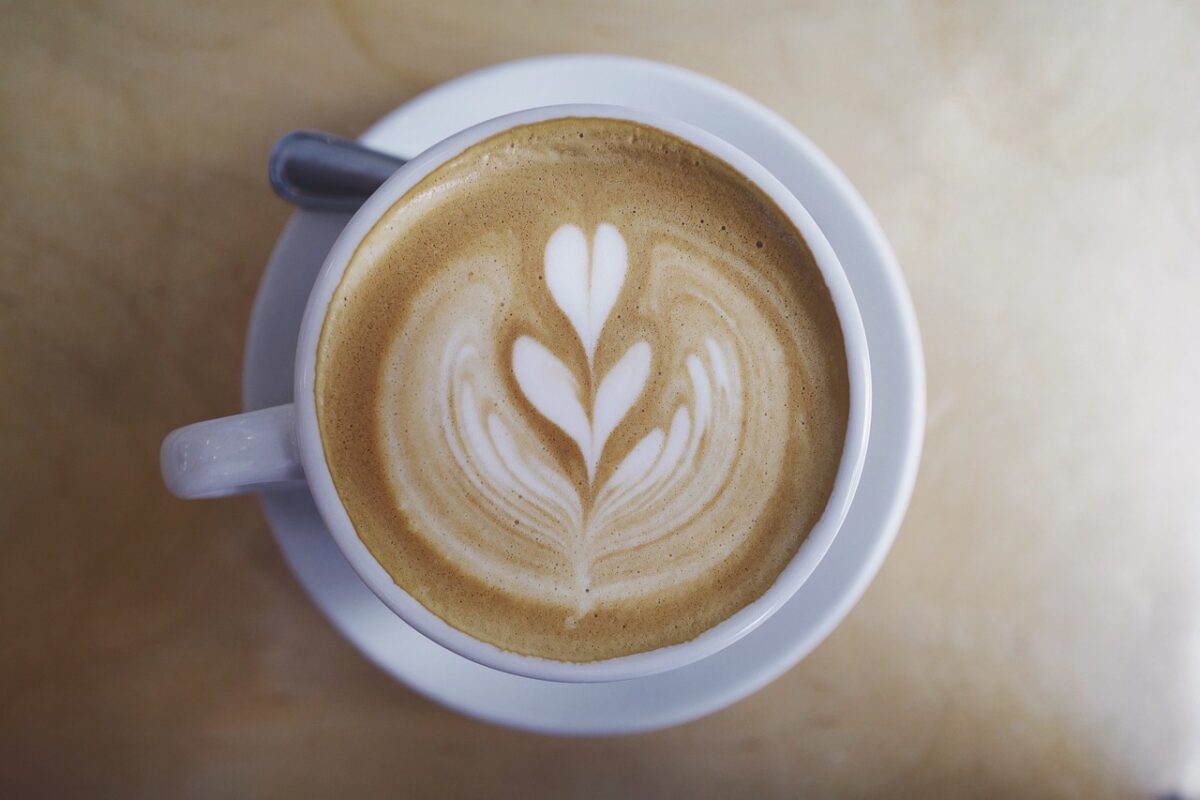
A handheld frother costs a fraction of a steam wand and gets surprisingly close — if the milk and the angle are right.
Temperature first
Warm the milk to about 60°C before frothing, not after. Cold milk foams into large bubbles that collapse; milk heated past 70°C tastes cooked and refuses to hold foam at all.
Jug shape
A tall, narrow jug filled no more than a third gives the whisk room to pull air in. A wide mug spreads the milk too thin for a vortex to form.
Where to hold the whisk
- Start with the whisk just below the surface for five seconds to introduce air.
- Then sink it deeper and hold it against the side to spin the milk into a vortex — that is what turns big bubbles into microfoam.
- Tap the jug on the counter and swirl before pouring.
Cleaning
Rinse the whisk in warm water immediately. Dried milk on a whisk is the reason most frothers stop working, not the motor.
Plant milks
Barista-style oat and soy foam well because of added protein and stabilisers. Standard versions foam thinly whatever technique you use.